Projects
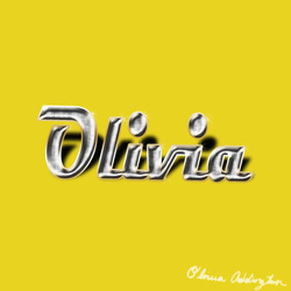
Assignment 1: Signature BrushI used my signature to create a brush, by taking a picture of it, manipulating that picture in Photoshop, and then clicking Edit, Define Brush Preset. I will use this brush to sign any work I create.
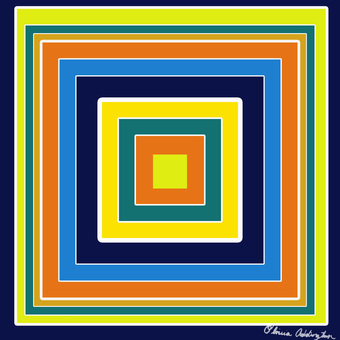
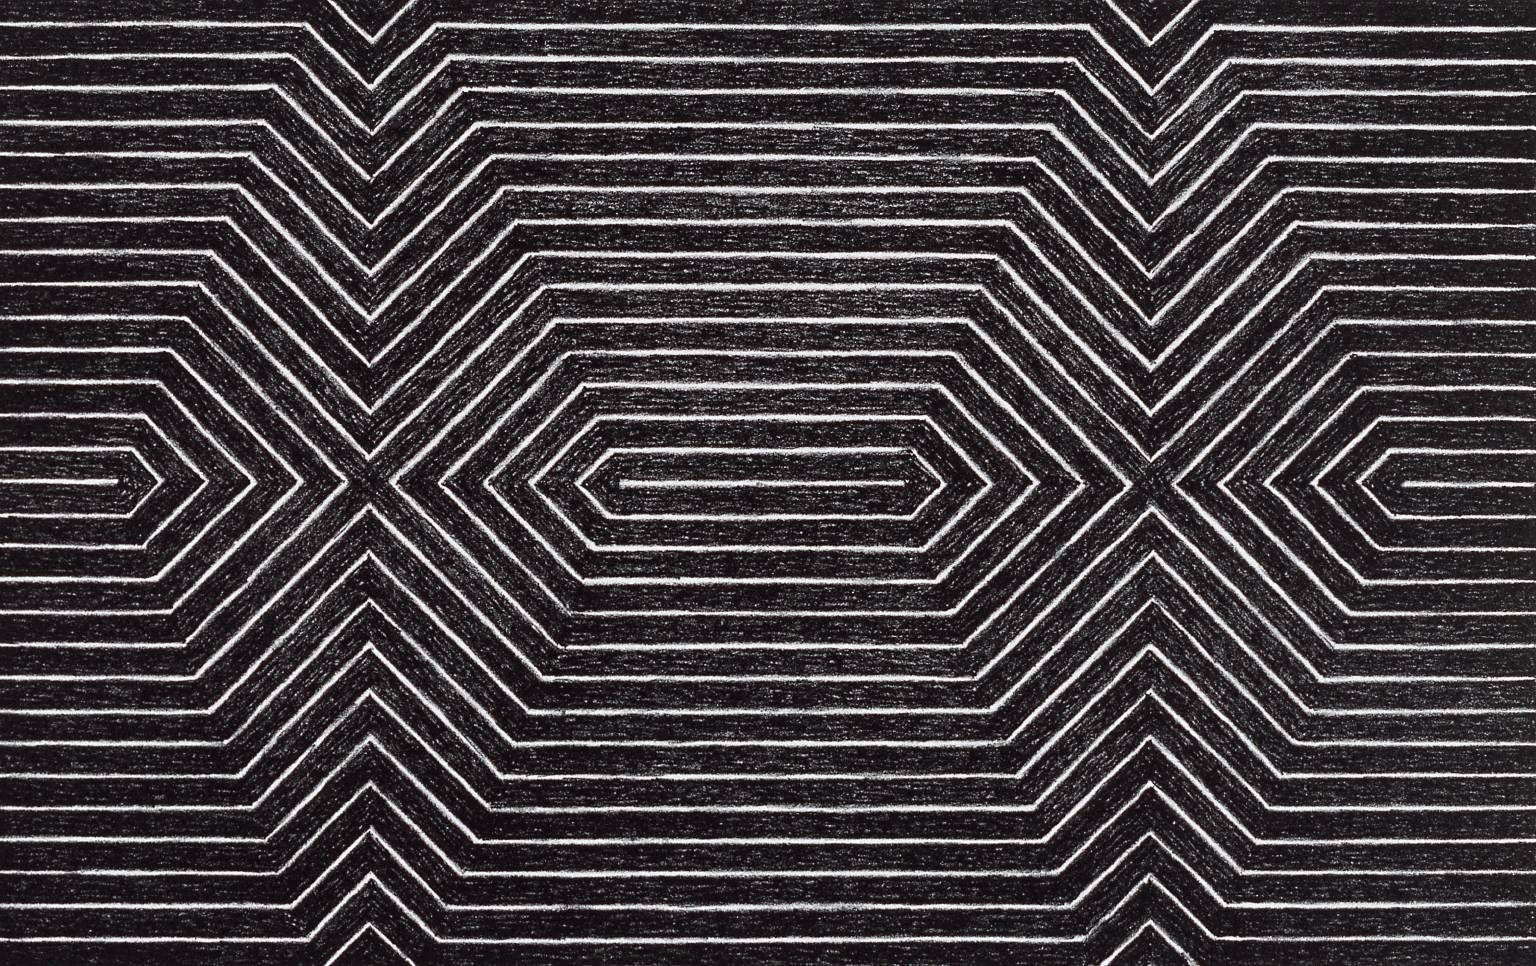
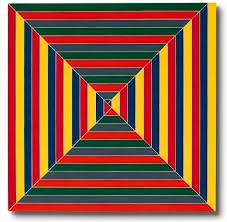
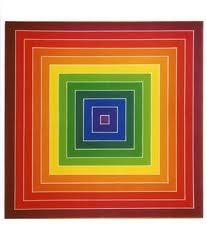
Assignment 2: Frank Stella Imitation
These pieces, modled after the work of Frank Stella, were created in Photoshop using the rectangular marquee tools, the elliptical marque tool, strokes, and multiple layers.
These pieces, modled after the work of Frank Stella, were created in Photoshop using the rectangular marquee tools, the elliptical marque tool, strokes, and multiple layers.
|
|
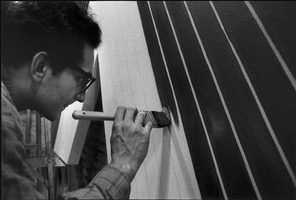 Frank Stella creating one of his Black Paintings
Short Biography:
Frank Stella is a famous American painter and printmaker. The majority of is paintings are simple, using primarily geometric shapes and bright colors. Stella was successful very early in his art career when, at the age of 23, his Black Paintings series grew very popular. Other notable works of his include Harran II, Les Indes galantes, and Concentric Squares, just to name a few. He believed that art should not have any symbolic meaning, but instead should simply be visually stimulating. This belief is evident in his work. In my opinion, the aspect that makes his work so unique is its simplicity. The elements that make up his paintings are completely unembellished, yet they are still hold my attention. He is an important artist because he demonstrates the power of pure color without cluttering its effect by complicating the painting.
Frank Stella is a famous American painter and printmaker. The majority of is paintings are simple, using primarily geometric shapes and bright colors. Stella was successful very early in his art career when, at the age of 23, his Black Paintings series grew very popular. Other notable works of his include Harran II, Les Indes galantes, and Concentric Squares, just to name a few. He believed that art should not have any symbolic meaning, but instead should simply be visually stimulating. This belief is evident in his work. In my opinion, the aspect that makes his work so unique is its simplicity. The elements that make up his paintings are completely unembellished, yet they are still hold my attention. He is an important artist because he demonstrates the power of pure color without cluttering its effect by complicating the painting.
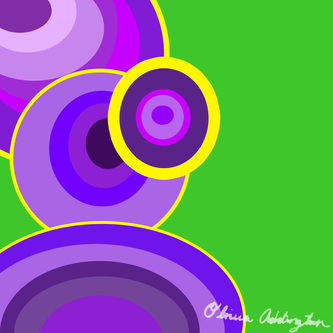
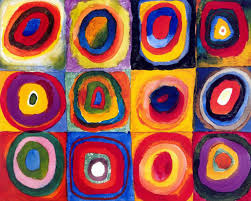
Assignment 3: Wassily Kandinsky Imitation
Here, I used the Elliptical Marquee Tool, Stroke, and multiple layers to recreate Wassily Kandinsky's Concentric Circles.
Here, I used the Elliptical Marquee Tool, Stroke, and multiple layers to recreate Wassily Kandinsky's Concentric Circles.

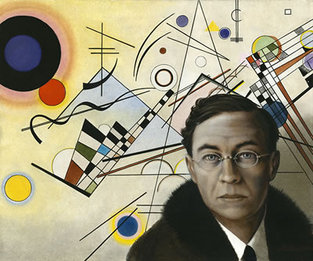 Wassily Kandinsky II by: Jaques Moitoret
Short Biography:
Wassily Kandinsky was a Russian painter and an art theorist who many credit as the founder of abstract art. During the time period, Kandinsky's abstract methods of painting were very unique and somewhat looked down upon because the contrasted so sharply from traditional methods. His work caused much controversy in his lifetime. Kandinsky used bright colors in many of his paintings. Later in his career, he began to favor the use of geometric shapes, such as in his famous Concentric Circles (1913) and his Composition series. An important belief of Kandinsky's was the importance and close connection between music and art. He would use music as inspiration for many of his pieces, at times listening to songs as he painted. He also believed that art held a very spiritual aspect. Kandinsjy's work is significant because he was really the first person to ever create such pieces. His ideas were very new and different from previous attitudes, and he contributed much to history by founding this major artistic movement.
Wassily Kandinsky was a Russian painter and an art theorist who many credit as the founder of abstract art. During the time period, Kandinsky's abstract methods of painting were very unique and somewhat looked down upon because the contrasted so sharply from traditional methods. His work caused much controversy in his lifetime. Kandinsky used bright colors in many of his paintings. Later in his career, he began to favor the use of geometric shapes, such as in his famous Concentric Circles (1913) and his Composition series. An important belief of Kandinsky's was the importance and close connection between music and art. He would use music as inspiration for many of his pieces, at times listening to songs as he painted. He also believed that art held a very spiritual aspect. Kandinsjy's work is significant because he was really the first person to ever create such pieces. His ideas were very new and different from previous attitudes, and he contributed much to history by founding this major artistic movement.
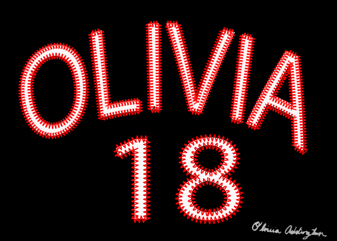
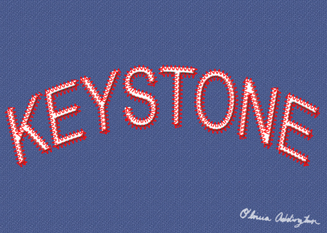
Assignment 4: "Bling" Text Manipulation
Modeled after a sort of Elvis Bling, we learned to make make a shiny font, using different layers (one for the text, another for the shadow), and different layer styles, including Inner Glow, Bevel and Emboss, Gradient Overlay, Pattern Overlay, and Stroke. We also began learning about Filters when we applied a Gaussian blur to the shadow. There are many other possibilities that can be created with these tools, especially by changing the Pattern or Gradient Overlay.
Modeled after a sort of Elvis Bling, we learned to make make a shiny font, using different layers (one for the text, another for the shadow), and different layer styles, including Inner Glow, Bevel and Emboss, Gradient Overlay, Pattern Overlay, and Stroke. We also began learning about Filters when we applied a Gaussian blur to the shadow. There are many other possibilities that can be created with these tools, especially by changing the Pattern or Gradient Overlay.
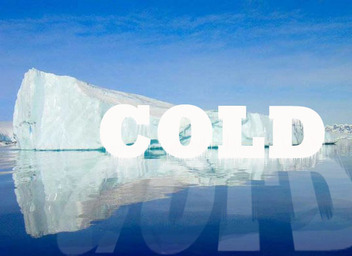
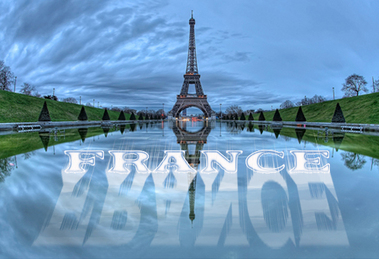
Assignment 5: "Cold" Text Manipulation
I created this water reflection by using the different transformations such as rotation, flip, and distortion, applying a stylized wind filter, and a low opacity eraser tool. This can be replicated with any type of reflected surface.
I created this water reflection by using the different transformations such as rotation, flip, and distortion, applying a stylized wind filter, and a low opacity eraser tool. This can be replicated with any type of reflected surface.
Guided Practice
|
Independent Attempt
|
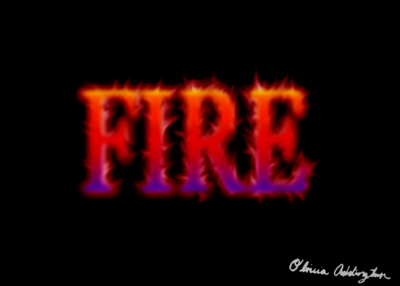
Assignment 6: "Fire" Text Manipulation
I did this with one text layer containing the Smudge tool and the Color Balance feature under the New Adjustment layer icon, along with another text layer containing a Inner Glow and a Gradient Overlay.
I did this with one text layer containing the Smudge tool and the Color Balance feature under the New Adjustment layer icon, along with another text layer containing a Inner Glow and a Gradient Overlay.
Assignment 7: Fire GIF, made using Liquidfy tool and Color Adjustment Layers, along with an original GIF, made using Layer Styles and brushes.
|
|
Assignment 8: "Grass" Text Manipulation
Using filters and layer styles, I made letters look like grass.
Using filters and layer styles, I made letters look like grass.
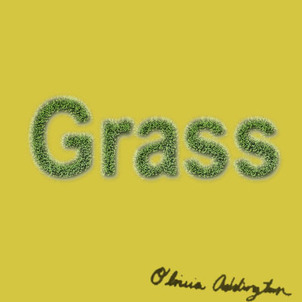
Guided Practice
|
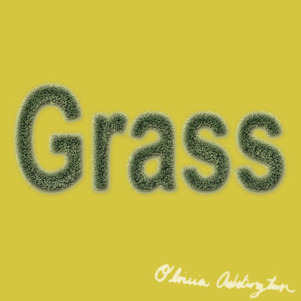
Independent Attempt
|
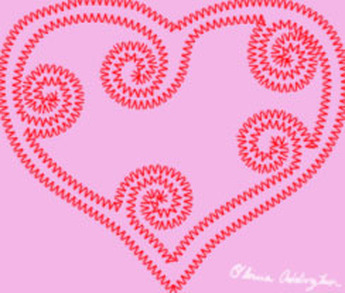
Assignment 9: Stitches
I created this stitched look using special brushes, work paths, and stroke paths.
I created this stitched look using special brushes, work paths, and stroke paths.
Guided Practice
|
Independent Attempt
|
Assignment 10: Challenge- Stitches around Object
There were a couple different ways to to do create a Work Path around an object. Some people used the Magnetic Lasso Tool, but I used the Magic Wand.
There were a couple different ways to to do create a Work Path around an object. Some people used the Magnetic Lasso Tool, but I used the Magic Wand.
Assignment 11: Clipping Mask
This using different layers, including photographs, I created this stencil-like effect.
This using different layers, including photographs, I created this stencil-like effect.
Guided Practice
|
Independent Creation
|
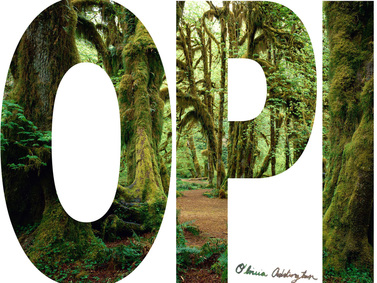
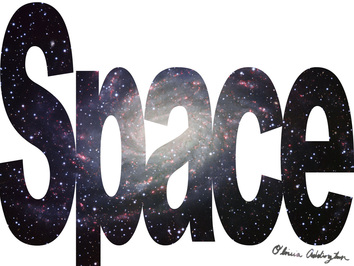
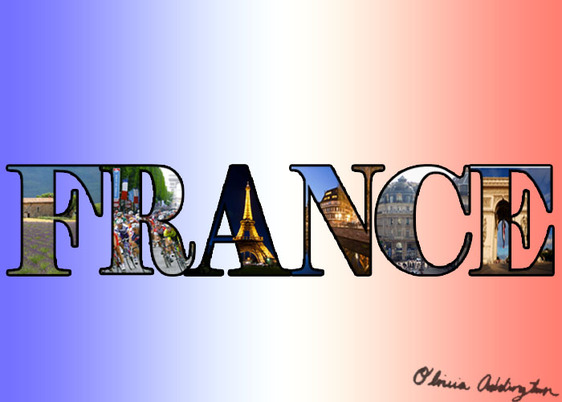
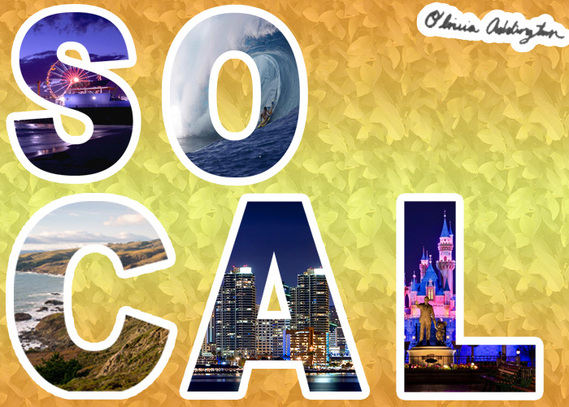
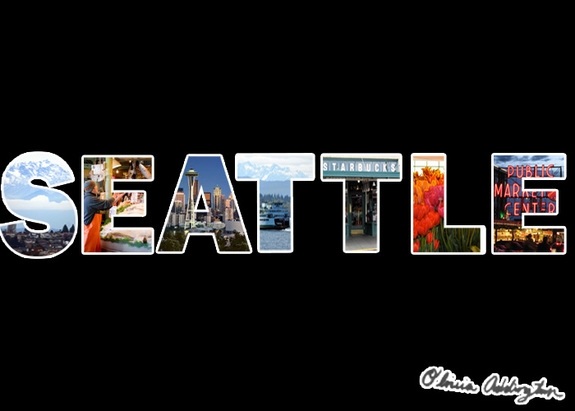
Assignment 12: Clipping Masks with Different Pictures in Each Letter
This is created by following the regular the clipping mask process for each individual letter, and then merging everything into one document
Series #1: Cool Vacation Spots
This is created by following the regular the clipping mask process for each individual letter, and then merging everything into one document
Series #1: Cool Vacation Spots
Assignment 13: Clipping Mask Objects
I achieved this effect by using the Magic Wand to self the object, and then dragging it on top of another image. From there, it was a basic Clipping Mask process.
Series #2: Famous People
I achieved this effect by using the Magic Wand to self the object, and then dragging it on top of another image. From there, it was a basic Clipping Mask process.
Series #2: Famous People
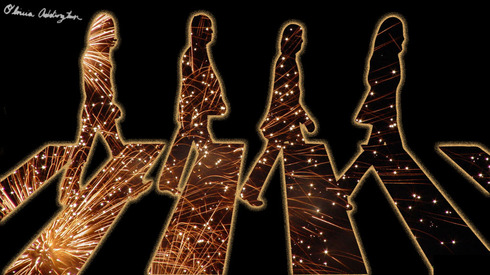
Abbey Road
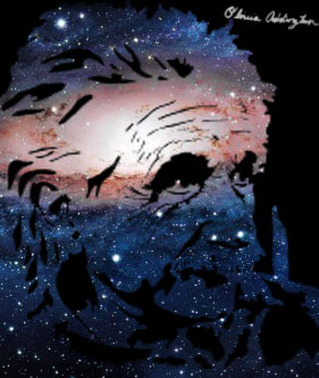
Albert Einistein
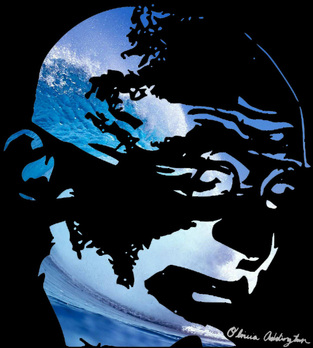
Mahatma Gandhi
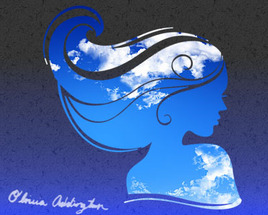
Another Clipping Mask Object (not in the series), inspired by Rene Magritte.
Assignment 13: Text Portraits
I made these pieces using a text box and a layer mask, with a picture I selected using the Magnetic Lasso tool.
Series #3: Washington D.C. Trip
I made these pieces using a text box and a layer mask, with a picture I selected using the Magnetic Lasso tool.
Series #3: Washington D.C. Trip
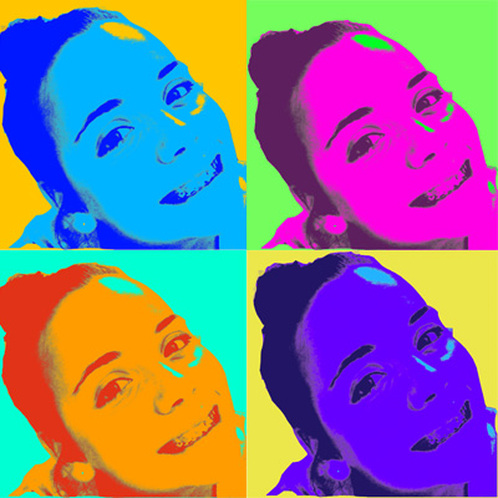
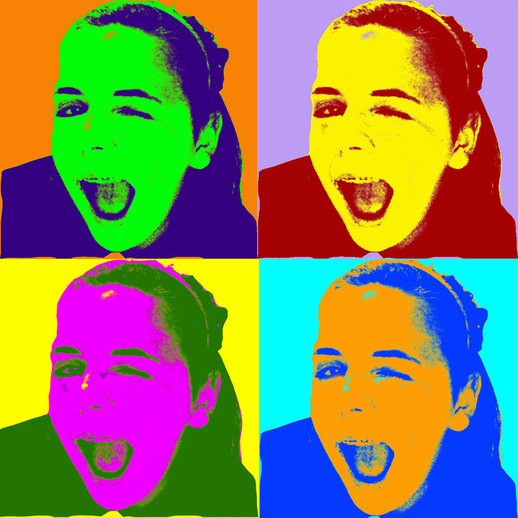
Assignment 14: Andy Warhol Imitation
I created this by selecting the Highlights, Midtones, and Shadows of a picture, filling them different colors, and combining all four into one document through minimizing and dragging.
Series #3: Close ups of Me
I created this by selecting the Highlights, Midtones, and Shadows of a picture, filling them different colors, and combining all four into one document through minimizing and dragging.
Series #3: Close ups of Me

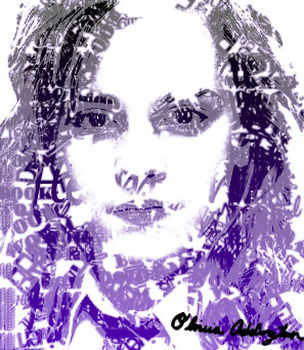
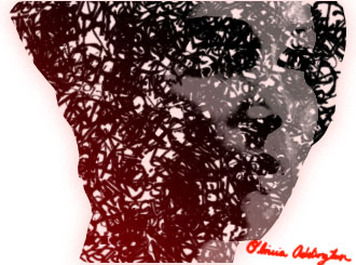
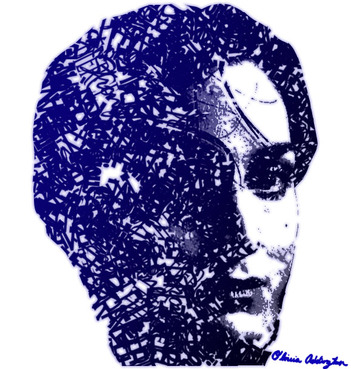
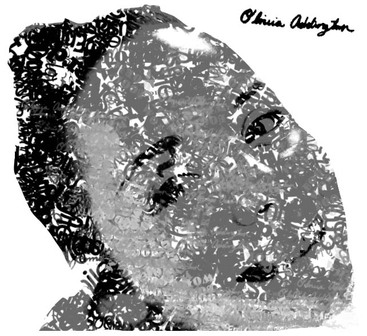
Assignment 15: Brush Layer Mask
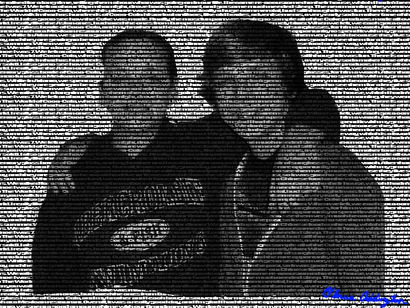
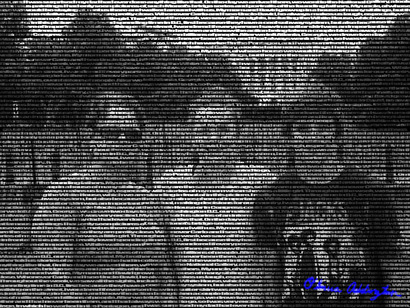
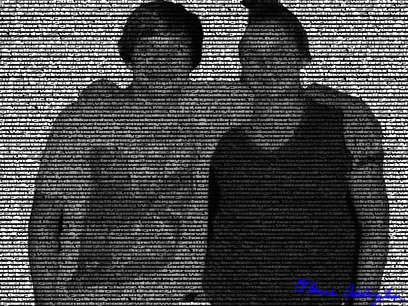
These pieces were created by filling a Shadows/ Midtones layer with black/gray respectively, putting on top of that a white layer, and on top of that, covering a layer with brushes I made of adjectives describing the person in the picture. I, then, put a layer mask on that layer and copied the Shadows/Midtones picture into it, and finally, inverting it.
Series #4: Movie Heroines
Hermoine Granger
Katniss Everdeen
Trinity
Separate from the series, here is a portrait of me, made of brushes of descriptive adjectives and my name.
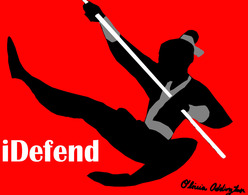
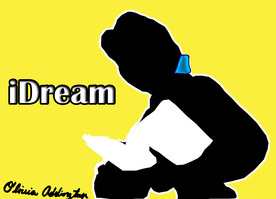
Assignment 16: iPod-inspired Posters
I achieved this look by using the Pen tool to select, then filling it in with color by clicking Edit, Fill.
I achieved this look by using the Pen tool to select, then filling it in with color by clicking Edit, Fill.
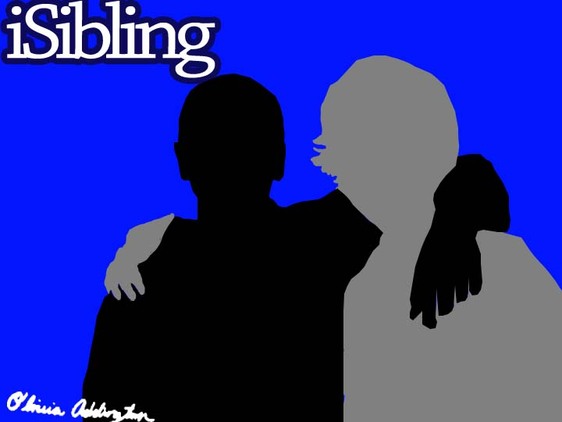
Series #5: Disney Princesses
Mulan (Mulan)
|
Belle (Beauty and the Beast)
|
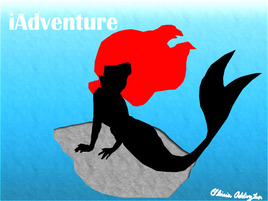
Ariel (The Little Mermaid)
|
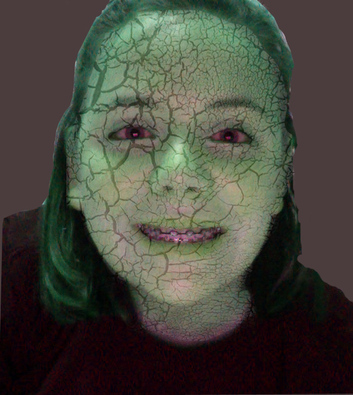
Assignment 17: ZOMBIES!
I created this creepy effect by changing the Opacity and Blending Mode of different layers, using the Pen Tool and the Eraser tool, and adding a Color Balance Adjustment Layer.
I created this creepy effect by changing the Opacity and Blending Mode of different layers, using the Pen Tool and the Eraser tool, and adding a Color Balance Adjustment Layer.
Guided Practice
Series #7: Zombie Vacation Photos
Using the same technique as above, I added the use of the Circular Marquee tool for the eyes, Curve and Level Adjustment layers, and the Animation Tool, which allowed me to make it into a GIF.
Using the same technique as above, I added the use of the Circular Marquee tool for the eyes, Curve and Level Adjustment layers, and the Animation Tool, which allowed me to make it into a GIF.
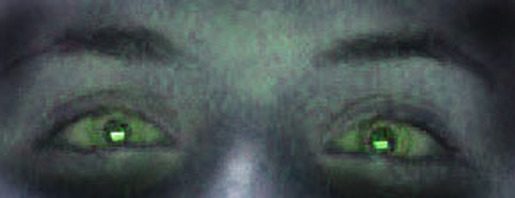
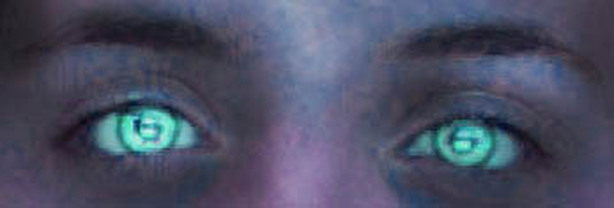
Assignment 18: Spooky Eyes
I created this effect using the Circular Marquee tool, different Blending Modes, and the Dodge and Burn tools.
I created this effect using the Circular Marquee tool, different Blending Modes, and the Dodge and Burn tools.
Guided Practive
Independent Attempt
Independent Attempt
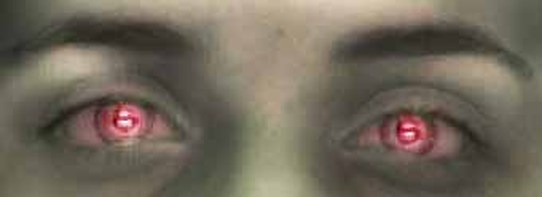
I made this be combining earlier zombie techniques with the spooky eye effect.
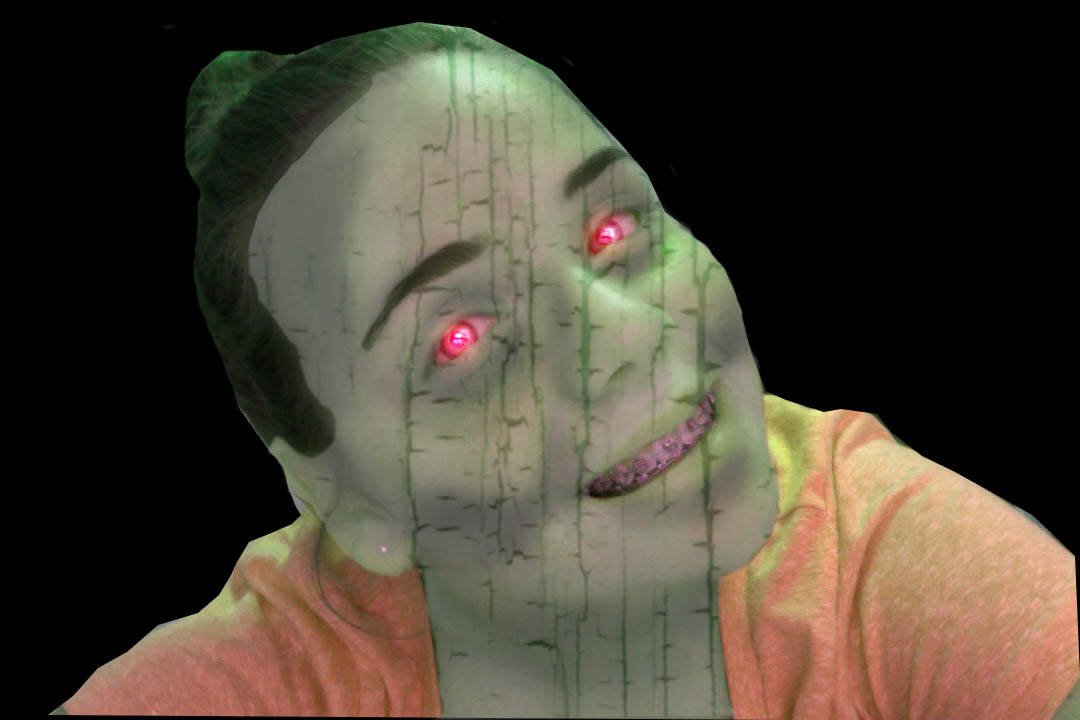
Zombie Eyes
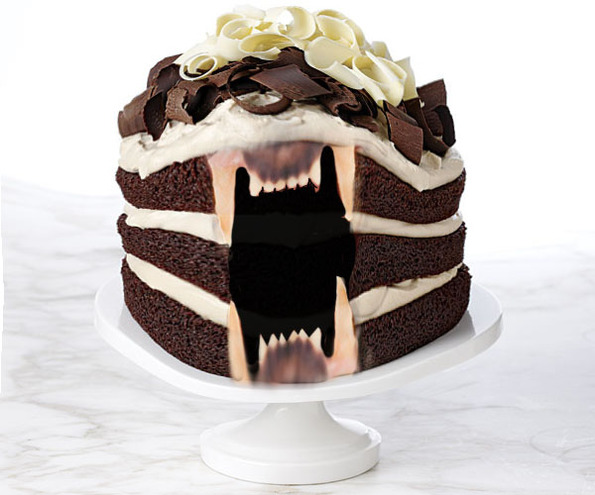
Assignment 19: Challenge- Monster Food
I created this by using the Transform tool, the Eraser tool, the Liquify tool, and by changing the opacity of different layers.
I created this by using the Transform tool, the Eraser tool, the Liquify tool, and by changing the opacity of different layers.
Assignment 20: Halloween Tutorials
Series #8: Halloween
The piece below was made using the Pen tool, the Lens Flare filter, the Liquify tool, and the Dodge and Burn tools.
The piece below was made using the Pen tool, the Lens Flare filter, the Liquify tool, and the Dodge and Burn tools.

The Evil Eye Effect
The piece below was made using Rectangular and Circular Marquee tool, Color Balance Adjustment Layers, different Blending Modes, and different brushes.
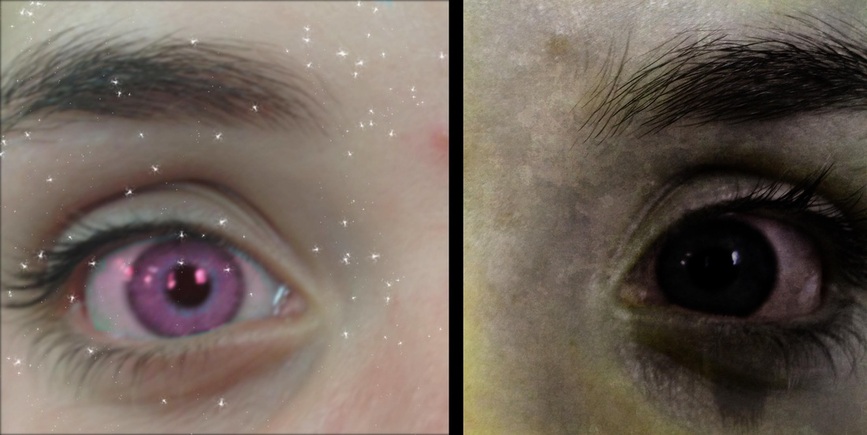
The Good vs. Evil Effect
The piece below was created using different Blending modes and Opacities, the Circular Marquee tool, Color Balance Adjustment Layers, and the Dodge and Burn tools.
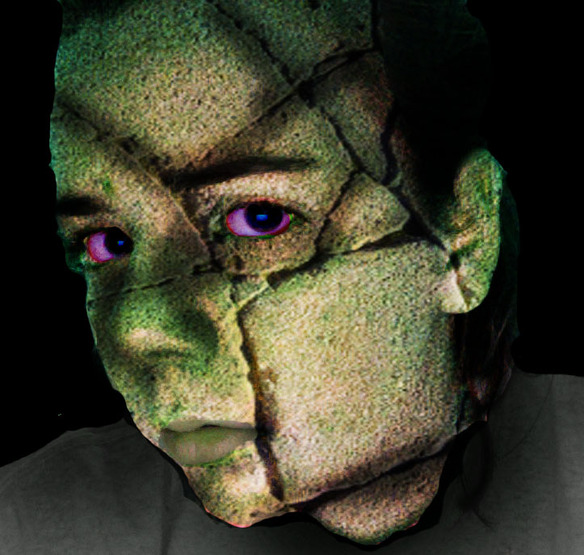
Decay
If you would like to find out more about how I created these pieces, click on the button below.
